The Weighting Axis enables the viewing of unweighted and weighted results side-by-side. This includes the viewing of results from multiple weights side-by-side.
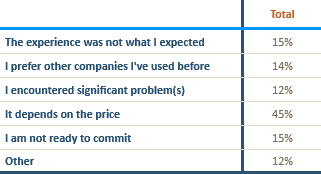
Let's start out with a table of measures as shown in figure 1.0.
figure 1.0
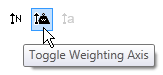
To use the Weighting Axis, click the 'Toggle Weighting Axis' button as shown in figure 1.1. This button is located on the toolbar toward the middle-left.
figure 1.1
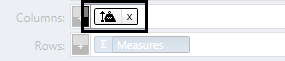
Clicking the 'Toggle Weighting Axis' button will cause the Weighting Axis Box to appear in (or hide from) the Columns Container as shown in figure 1.2:
figure 1.2
With the Weighting Axis Box present in the Series/Columns Container, your table will now look something like this:
figure 1.3
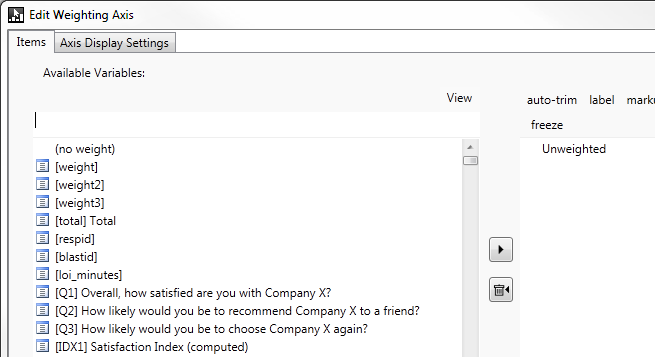
To add weight(s), click the Weighting Axis Box (the Box, not the Button -- see figure 1.2 above) to edit the Axis. A window will open which
allows you to specify weight(s).
figure 1.4
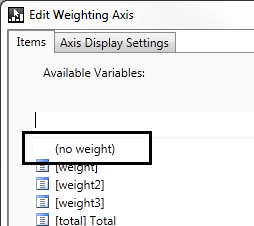
The left side of the window contains a list of all the variables you may use as a weight. The first item is "(no weight)",
and has already been added to your Selected Weights by default and has been labeled "Unweighted". You
can remove this item using the garbage can icon, or re-label it using the "label" button.
figure 1.5
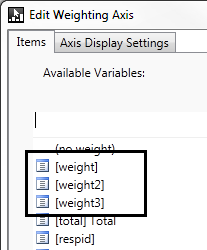
For your convenience, Report Builder makes a guess at the variable(s) you might want to use as weights. If your variable name or label contains "weight", or if the name (not the label) starts with "wt",
you'll see that variable toward the top of the list. (see figure 1.6)
figure 1.6
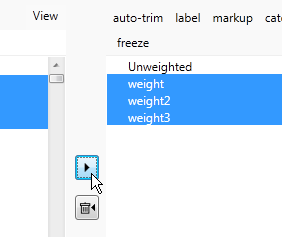
Highlight the variable(s) you want to add as weights and click the right-arrow button (see figure 1.7). Then click okay.
figure 1.7
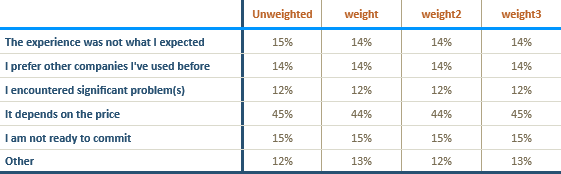
Your table will now contain a column for every weight that you selected. (see figure 1.8)
figure 1.8
The Weighting Axis works like any other Axis. So it is possible to drag it into the Rows container and/or combine it with other Axes for a highly customized result.